1988 O'Day 322
Home Port - East Chicago, IN
![]()
![]()
![]()
![]()
|
|
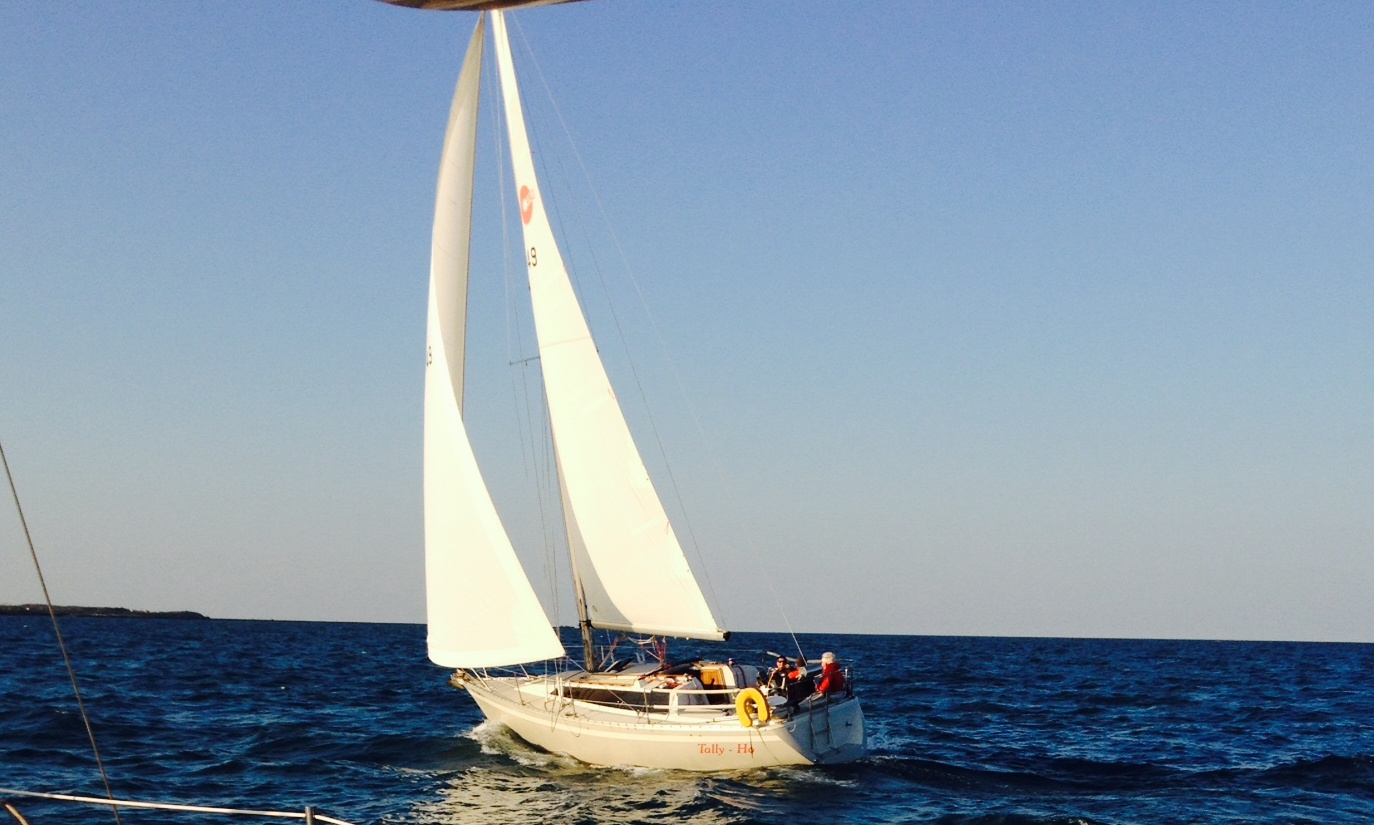
sv Tally Ho!
1988 O'Day 322
|
|
|
|
||
09/08/15 |
|
|
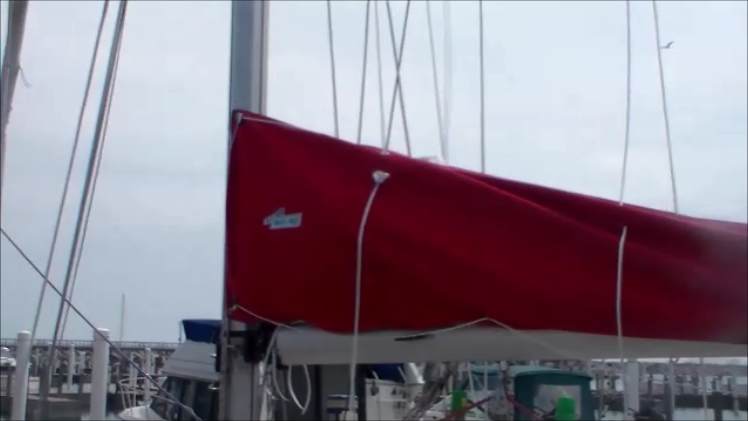
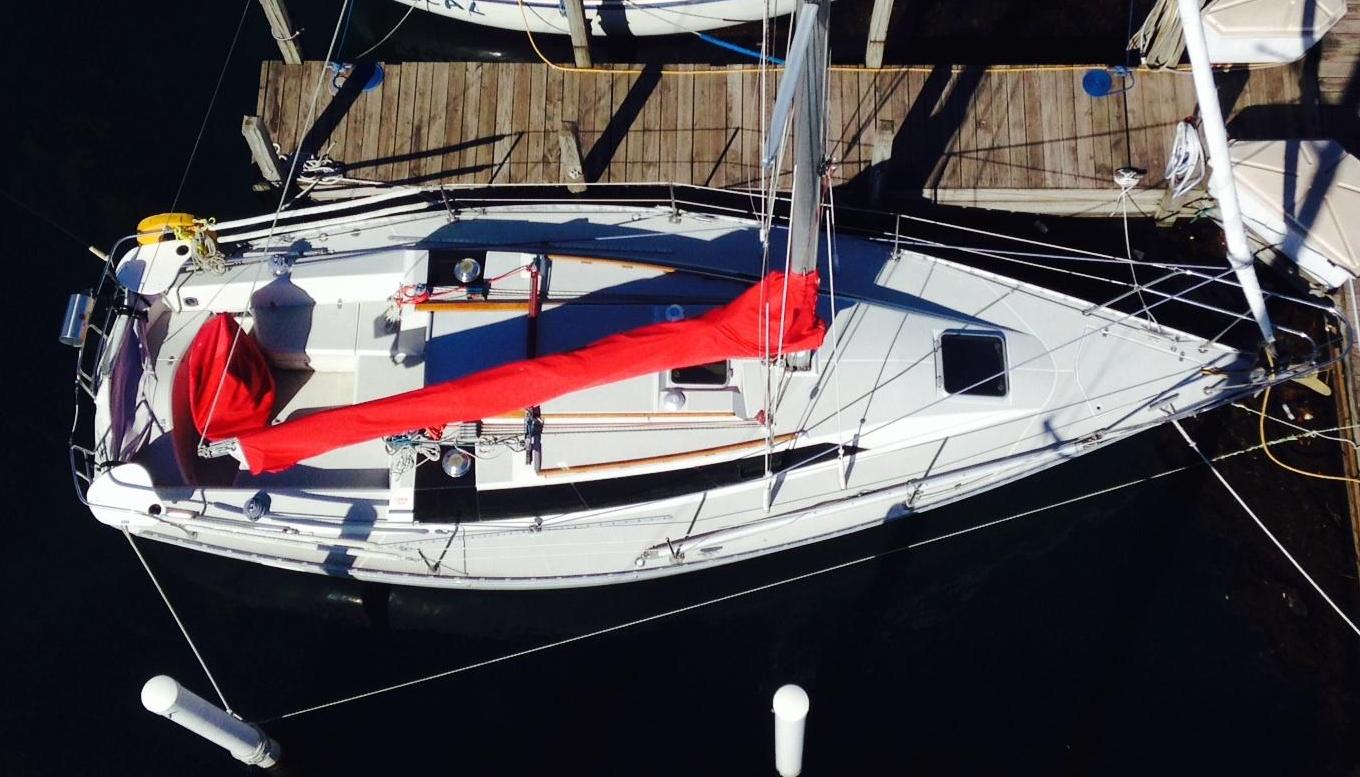
As I mentioned, Tally Ho! has a lot of "character"...and that means it takes some work to get her in good condition and keep her that way...Since the Mack Pack install is a bit more involved, I
thought I would dedicated a page just to the
Mack Pack.
Mack Sails has a very good installation video on their site. I watched
it several times to get the general idea, and to make the list of tools
and supplies needed.
Tally Ho did not have any sail handling accessory when we bought her. Our old boat had Lazy-Jacks, which made dropping the large, full-batten main on the Hunter 280 much easier (especially when single-handed). I also did not like having to remove the cover to sail, and then put it back on at the end of the day. So we decided to purchase a Mack Pack, which incorporates a top-opening sail cover and Lazy-Jacks. We ordered the Mack Pack based on dimensions we took at the end of the 2014 season (Mack Sails has a nice diagram and order form). We talked to the folks from Mack Sails at Strictly Sail Chicago in January, and the "boat show special" was the SS bracket that normally sells for $84 or so. The bracket is required if you don't have a topping lift, and I think it makes a cleaner looking installation even if you have a topping lift. The Mack Pack has various options for installing on a loose-footed, sail slugs or bolt rope main sail. Our boat has a bolt rope, and we were pleasantly surprised to see that Mack Sails no longer required you to cut slits in the foot of the main sail. The new option includes some "tabs" that slide into the bolt slot to connect the 2 halves of the sail cover. It went on very easily. Their website still says that you need to cut 4 or 5 slits in the foot of the sail, but it is out of date. The only hard part is going up the mast to install 2 cheek blocks. Everything else can be done from the deck. You do have to drill and tap several holes in the mast and boom, including from the chair. A sharp drill bit and tap are very helpful. We used a hammer and center punch to start some of the holes. The bit has a tendency to "drift" some, and when you have to have 2 screw holes in the blocks, cleats, etc., the locations need to be pretty precise. Where possible, we marked and drilled one hole, mounted the hardware, and then drilled the 2nd hole to ensure they were in the right place. I only dropped 1 screwdriver and miraculously, it landed on the deck and stayed out of the water! Here is a link to the Youtube Video of our installation. Here is a list of the tools and supplies you need to
install the Mack Pack:
|
![]()
![]()
![]()
![]()
This site was last updated 09/07/15